Paper mache, derived from the French phrase “papier mâché” meaning “chewed paper,” is one of the most beloved and versatile crafting techniques that has delighted creators for centuries. This ancient art form, which originated in China and later spread to Japan, Persia, and eventually Europe, transforms simple, everyday materials into stunning sculptures, masks, decorative objects, and functional items.
At its core, paper mache is a composite material consisting of paper pieces bound together with an adhesive paste. The beauty of this craft lies in its accessibility – requiring only basic household items and a bit of creativity to produce remarkable results. Whether you’re a parent looking for an engaging activity for children, an educator seeking hands-on learning experiences, or an adult artist exploring new mediums, paper mache offers endless possibilities for creative expression.
The Timeless Appeal of Paper Mache
Paper mache has maintained its popularity across generations and cultures for several compelling reasons:
Accessibility and Affordability
One of the most appealing aspects of paper mache is that it requires minimal investment in materials:
- Basic ingredients are inexpensive and commonly found in most households
- No specialized tools or equipment are required to get started
- Projects can range from simple to complex without significant cost increases
- Failed attempts are inexpensive to remedy, encouraging experimentation
Educational Value
Paper mache projects offer rich learning opportunities:
- Develops problem-solving skills through structural considerations
- Introduces concepts of form, shape, and three-dimensional design
- Builds patience and attention to detail through multi-step processes
- Encourages recycling and environmental consciousness by repurposing materials
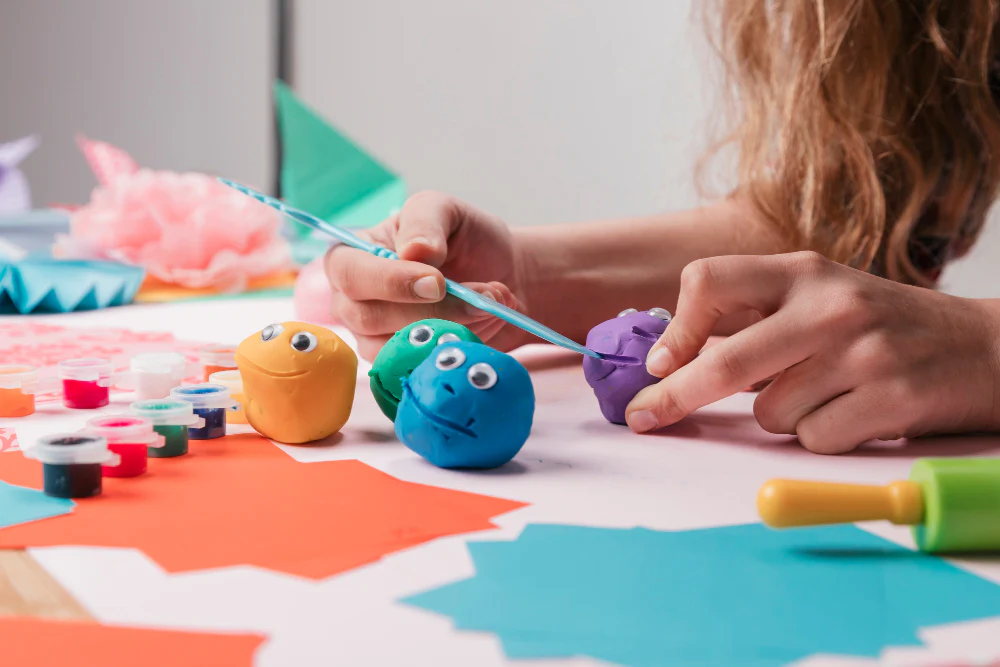
Therapeutic Benefits
The process of creating with paper mache has inherent therapeutic qualities:
- Provides a meditative, focused activity that reduces stress
- Offers tactile satisfaction through working with textures and materials
- Builds confidence through the transformation of simple materials into art
- Allows for personal expression and emotional release through creative outlets
The Perfect Paste: Creating Your Paper Mache Adhesive
The foundation of successful paper mache lies in creating a strong, workable adhesive paste. While commercial options exist, homemade paste is economical, customizable, and often superior in performance:
Classic Flour and Water Paste
- 1 cup all-purpose flour
- 2 cups water (divided)
- 1 tablespoon salt (optional, acts as preservative)
- Mix Dry Ingredients: In a medium saucepan, whisk together the flour and salt (if using) until well combined.
- Create Slurry: Gradually add 1/2 cup of the water to the flour mixture, whisking constantly to prevent lumps.
- Add Remaining Water: Slowly pour in the remaining 1 1/2 cups of water while continuing to whisk.
- Heat Mixture: Place the saucepan over medium heat and cook, stirring constantly, for 3-5 minutes until the mixture thickens to a pudding-like consistency.
- Cool Completely: Remove from heat and allow to cool to room temperature before use. The paste should be smooth and spreadable.
Alternative Paste Options
- 1 part white school glue
- 1 part water
This mixture dries faster and creates a stronger bond, though it’s not as traditional as flour paste.
- 1 cup flour
- 1 cup water
- 2 tablespoons vegetable oil
The oil helps prevent mold and creates a more flexible final product.
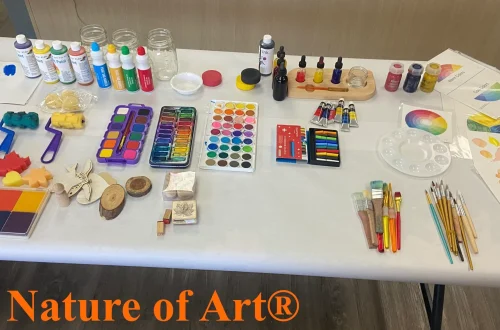
Selecting and Preparing Materials
The success of your paper mache project depends heavily on choosing appropriate materials and preparing them correctly:
Paper Selection
Different types of paper create different effects and have varying strengths:
- Newspaper: The most common choice, readily available and easy to tear into strips
- Paper Towels: Create a smoother finish but require more layers for strength
- Magazine Pages: Provide color options but may not adhere as well due to glossy coating
- Copy Paper: Good for detailed work but can be expensive for large projects
- Brown Kraft Paper: Strong and creates a rustic appearance
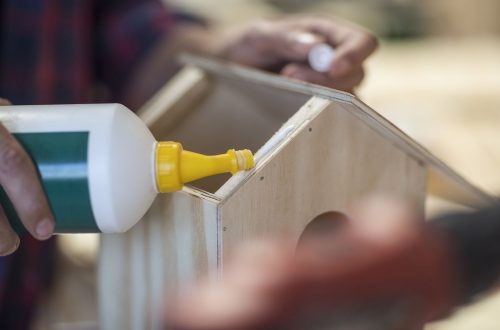
Form Selection
The base form (armature) determines the shape of your final creation:
- Balloons: Perfect for round, symmetrical objects like planets or heads
- Cardboard: Excellent for geometric shapes and architectural elements
- Wire Mesh: Provides structure for organic, flowing forms
- Plastic Bottles/Jars: Useful for cylindrical or box-like structures
- Aluminum Foil: Malleable for custom shapes that can be reshaped as needed
The Method: Step-by-Step Paper Mache Technique
Mastering the basic paper mache technique opens the door to countless creative possibilities:
- Create Your Form: Build or select the base structure for your project. Ensure it’s stable and appropriately sized for your intended creation.
- Prepare Workspace: Cover your work area with plastic sheeting or old newspapers. Have all materials within easy reach.
- Tear Paper Strips: Tear newspaper or chosen paper into strips of varying widths (typically 1-3 inches) and lengths (4-8 inches). Torn edges adhere better than cut edges.
- Set Up Paste Station: Pour prepared paste into a shallow dish or bowl for easy dipping. Keep a separate container of clean water nearby.
- Dip and Coat: Dip a paper strip into the paste, ensuring it’s fully coated but not dripping excessively. Run the strip between your fingers to remove excess paste.
- Apply to Form: Place the strip on your form, smoothing it down with your fingers to eliminate air bubbles and wrinkles.
- Vary Directions: Apply strips in different directions (horizontal, vertical, diagonal) to create a strong, uniform structure.
- Build Layers: Continue applying strips until the entire form is covered. Allow the first layer to dry slightly before applying subsequent layers.
- Multiple Layers: For most projects, 3-5 layers are sufficient. More complex or large structures may require additional layers.
Pro Tips for Success
- Work in a well-ventilated area to speed drying and reduce odors
- Apply paste to the paper rather than directly to the form for better control
- Don’t worry about perfection in early layers – focus on complete coverage
- Use a soft brush to smooth down paper and remove air bubbles
- Allow each layer to dry completely before adding the next to prevent mold
Drying and Decorating
Proper drying and thoughtful decoration transform your paper mache structure into a finished masterpiece:
Drying Process
Patience during the drying phase is crucial for a successful outcome:
- Time Requirements: Depending on thickness and humidity, drying can take 24-72 hours
- Environment: Warm, dry conditions speed drying, while humid conditions slow it
- Positioning: Place projects where air can circulate around all sides
- Signs of Readiness: The structure should feel completely dry and hard to the touch
Painting and Finishing
Once thoroughly dry, your paper mache creation is ready for decoration:
- Sanding (Optional): Lightly sand any rough spots with fine-grit sandpaper for a smoother finish
- Priming: Apply a thin coat of white craft paint or gesso as a base layer to help colors appear more vibrant
- Painting: Use acrylic paints for durability and vibrant colors. Tempera paints work well for children’s projects
- Detailing: Add final details with fine brushes, markers, or other decorative elements
- Sealing: Apply a clear sealant or varnish to protect the finished piece and give it a professional appearance
Project Ideas for All Skill Levels
Paper mache offers projects suitable for beginners through advanced crafters:
Beginner Projects
- Simple Masks: Oval-shaped masks using balloon forms, perfect for learning basic techniques
- Bowls and Plates: Functional items created by papier-mâching over bowls or plates
- Paper Mache Eggs: Decorative eggs made by covering plastic eggs with paper strips
- 3D Letters: Creating raised letters by covering cardboard letters with paper mache
Intermediate Projects
- Animal Sculptures: Creating animals by combining balloons and cardboard for more complex forms
- Planters: Decorative planters that can hold small plants (ensure proper drainage)
- Wall Art: Relief sculptures or 3D wall hangings with interesting textures
- Lanterns: Decorative lights (using LED candles for safety) with translucent papers
Advanced Projects
- Full-Size Busts: Detailed human or animal busts requiring careful attention to proportions
- Functional Furniture: Small chairs, tables, or decorative boxes with reinforced structures
- Architectural Models: Detailed replicas of buildings or famous structures
- Costume Elements: Large wearable pieces like helmets or armor for theatrical productions
Troubleshooting Common Issues
Even experienced paper mache artists encounter challenges. Here’s how to address common problems:
Structural Issues
- Weak Spots: Reinforce with additional layers, focusing on problem areas
- Wrinkles: Smooth out during application or add more paste to help paper conform
- Collapsing Forms: Ensure your base structure is adequately supported before beginning
Drying Problems
- Mold Growth: Improve ventilation and ensure each layer is completely dry before adding the next
- Uneven Drying: Rotate the project periodically to ensure all sides dry evenly
- Cracking: Add more layers to thin spots or use a more flexible paste recipe
Finishing Challenges
- Paint Peeling: Ensure the surface is completely dry and clean before painting
- Uneven Paint Coverage: Apply a primer coat before painting for better results
- Soft Spots: These indicate incomplete drying – allow more time or improve air circulation
Advanced Techniques and Variations
Once you’ve mastered the basics, explore these advanced approaches to enhance your paper mache creations:
Texture Techniques
- Impressed Textures: Press fabric, leaves, or textured materials into wet paste for patterned effects
- Mixed Media: Incorporate materials like yarn, string, or fabric into your paper mache layers
- Carving: Once dried, carefully carve details into the surface with craft knives
Alternative Application Methods
- Pulp Mache: Blend torn paper with paste to create a clay-like material for sculpting
- Cellulose Mache: Using toilet paper squares for smoother, more detailed work
- Fabric Mache: Using strips of fabric instead of paper for added strength and drape
Preservation and Display
Proper care ensures your paper mache creations last for years:
Long-Term Care
- Display in areas with stable temperature and humidity
- Dust regularly with a soft brush or cloth
- Repair small damages with additional paper mache before they worsen
- Apply fresh sealant every few years to maintain protection
Display Considerations
- Use appropriate supports for large or heavy pieces
- Consider lighting that enhances rather than damages the piece
- Keep away from direct sunlight to prevent fading
- For functional items, consider food-safe sealers if applicable
Environmental and Educational Benefits
Paper mache offers advantages beyond artistic expression:
Environmental Impact
- Repurposes waste paper that would otherwise be discarded
- Uses natural, biodegradable materials
- Reduces need for plastic or synthetic craft materials
- Creates durable items that can be composted at end of life
Educational Applications
- Teaches recycling and environmental responsibility
- Introduces concepts of engineering and structural design
- Develops spatial reasoning and three-dimensional thinking
- Integrates art with history, science, and cultural studies
Conclusion: The Enduring Magic of Paper Mache
Paper mache stands as a testament to human creativity and resourcefulness, transforming the most mundane materials into objects of beauty and wonder. This ancient craft continues to captivate new generations because it embodies the fundamental joy of creation – the satisfaction that comes from taking simple elements and combining them to produce something entirely new and meaningful.
In our increasingly digital world, paper mache offers a refreshing return to tactile, hands-on creativity. It engages multiple senses simultaneously, requiring touch to feel the texture of wet paper, sight to envision the final form, and patience to wait through the drying process. This multi-sensory engagement makes it particularly valuable for child development and therapeutic applications.
The accessibility of paper mache cannot be overstated. Unlike many crafts that require expensive tools or specialized materials, paper mache welcomes anyone with an idea and the willingness to get their hands dirty. This democratic nature has made it a staple in classrooms, community centers, and homes around the world for generations. It bridges cultural and economic divides, providing a common creative language that anyone can learn and enjoy.
As you embark on your own paper mache journey, remember that perfection isn’t the goal – exploration and expression are. Each bubble, wrinkle, or imperfection in your creation tells the story of its making and adds character that no machine-made object can replicate. Whether you’re crafting a simple mask with a child or an intricate sculpture for display, you’re participating in a tradition that connects you to countless artisans throughout history who found magic in the simple combination of paper and paste.
So gather your materials, prepare your paste, and let your imagination take shape. In the wonderful world of paper mache, the only limit is your creativity, and the rewards are as boundless as the possibilities that emerge from your hands.